
How to Take Screenshots on PC
You can capture screenshots on your Windows 10 PC for later reference, to use in guides, or to show off your work to the world. There are a few different ways to capture screenshots in Windows 10, each with its own use case. In this detailed tutorial, we’ll go over everything from basic keyboard shortcuts to complex Snipping Tool tricks for taking screenshots on a Windows 10 PC.
Method 1: Capture the Entire Screen
- Press the “PrtScn” (Print Screen) key: Located on your keyboard, the “PrtScn” key captures the entire screen. Press it once, and the screenshot is copied to your clipboard.

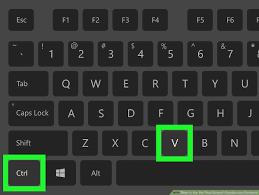
- Save the Screenshot: Open an image editing program like Microsoft Paint or Word, and press “Ctrl + V” to paste the screenshot. You can then save it as an image file (e.g., PNG or JPEG).
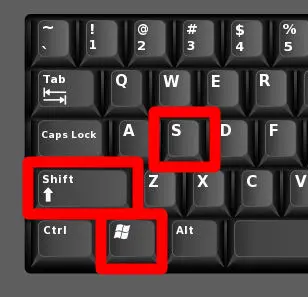
- Use the “Windows + Shift + S” Shortcut (Snip & Sketch): Press “Windows + Shift + S” to open the Snip & Sketch tool. This allows you to capture a portion of the screen, which you can then annotate and save.

Method 2: Capture the Active Window
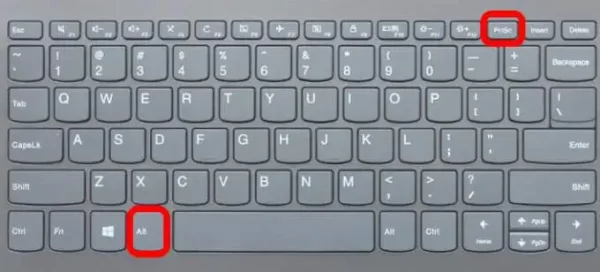
- Press “Alt + PrtScn”: To capture only the active window, press “Alt + PrtScn.” The screenshot is copied to your clipboard.
- Save the Screenshot:Open an image editing program and press “Ctrl + V” to paste the screenshot. Save it as an image file.
Method 3: Use the Snipping Tool
- Search for “Snipping Tool” in the Start menu and open it: The Snipping Tool allows you to capture custom sections of your screen.
- Click “New” and select the area you want to capture: After capturing, you can annotate, highlight, or save the screenshot directly from the Snipping Tool.
Method 4: Utilize the Snip & Sketch App
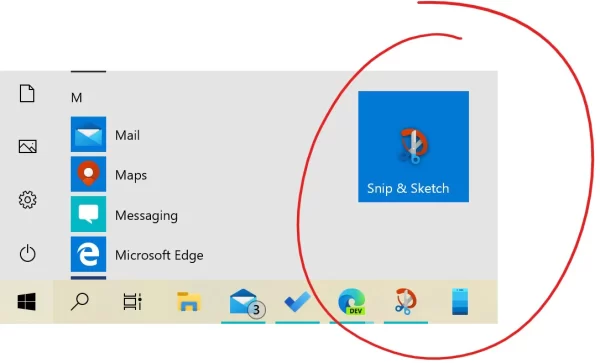
- Search for “Snip & Sketch” in the Start menu and open it: Snip & Sketch is an upgraded version of the Snipping Tool with more features.
- Click “New” to start a new snip: You can capture a portion of the screen and edit the screenshot before saving it.
Method 5: Take Screenshots with Windows + Shift + S (Snip & Sketch)
- Press “Windows + Shift + S”: This key combination opens Snip & Sketch in screenshot mode. You can then select an area to capture.
- Edit and Save: The screenshot appears in a notification. Click it to open Snip & Sketch for editing and saving.
Method 6: Use the Game Bar for Gaming Screenshots
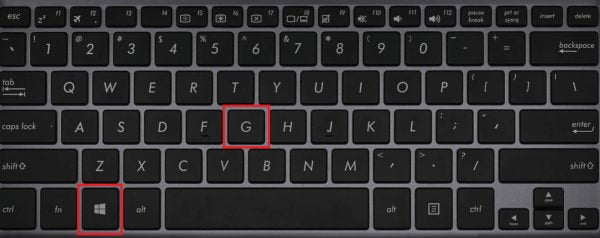
- While playing a game, press “Windows + G” to open the Game Bar: The Game Bar includes a screenshot feature for capturing gaming moments.
- Click the Camera Icon: Click the camera icon or press “Windows + Alt + PrtScn” to take a screenshot.
- Access the Screenshot in the Captures Folder: Your game screenshots are saved in the “Captures” folder within your Videos library.
Conclusion
Taking screenshots on a computer running Windows 10 is a simple process with a variety of options. Windows 10’s Snipping Tool, Snip & Sketch, and Game Bar are just a few examples of the flexible screen capture tools available to users. Once you’ve mastered these methods, taking and sharing photos, videos, and other content from your Windows 10 PC will be a breeze.
Frequently Asked Questions (FAQs) related to “How to Take Screenshots on PC with Windows 10”:
1. How do I take a screenshot of the entire screen in Windows 10?
- To capture the entire screen, press the “PrtScn” (Print Screen) key. The screenshot will be copied to your clipboard.
2. How can I capture only the active window?
- To capture only the active window, press “Alt + PrtScn.” This captures the content of the window currently in focus.
3. What are the advantages of using the Snipping Tool for taking screenshots?
- The Snipping Tool allows you to capture custom sections of your screen and provides basic annotation and editing features.
4. Is there a more advanced tool than the Snipping Tool in Windows 10?
- Yes, you can use the “Snip & Sketch” app, an upgraded version of the Snipping Tool, which offers additional features like editing and annotation.
5. Can I capture a specific area of the screen with Windows 10 shortcuts?
- Yes, you can use the “Windows + Shift + S” shortcut to open the Snip & Sketch tool in screenshot mode, allowing you to select and capture a specific area of the screen.
6. How do I access and edit screenshots taken with the Snip & Sketch app?
- After capturing a screenshot with Snip & Sketch, it appears in a notification. Click on the notification to open the screenshot in Snip & Sketch, where you can edit and save it.
7. Where are my game screenshots saved when using the Game Bar in Windows 10?
- Game screenshots taken with the Game Bar are saved in the “Captures” folder within your Videos library.
8. Can I change the default screenshot file format in Windows 10?
- Change the default snapshot format. Open the Snip & Sketch app, click to Settings, and select “Save Snips as,” then PNG or JPEG.
9. Is there a shortcut for taking a screenshot of the entire screen and saving it directly to a file in Windows 10?
- Yes, you can use “Windows + Shift + S” to open Snip & Sketch and select the “Screen Snip” option. After capturing it, you can save it directly as a file.
10. Are there third-party screenshot tools available for Windows 10?
- Yes, there are many third-party screenshot tools available for Windows 10, offering additional features and customization options for capturing and editing screenshots.
These FAQs should answer Windows 10 screenshot questions. Windows 10 has many tools and shortcuts for capturing the entire screen, certain windows, or custom selections.
Leave a Reply